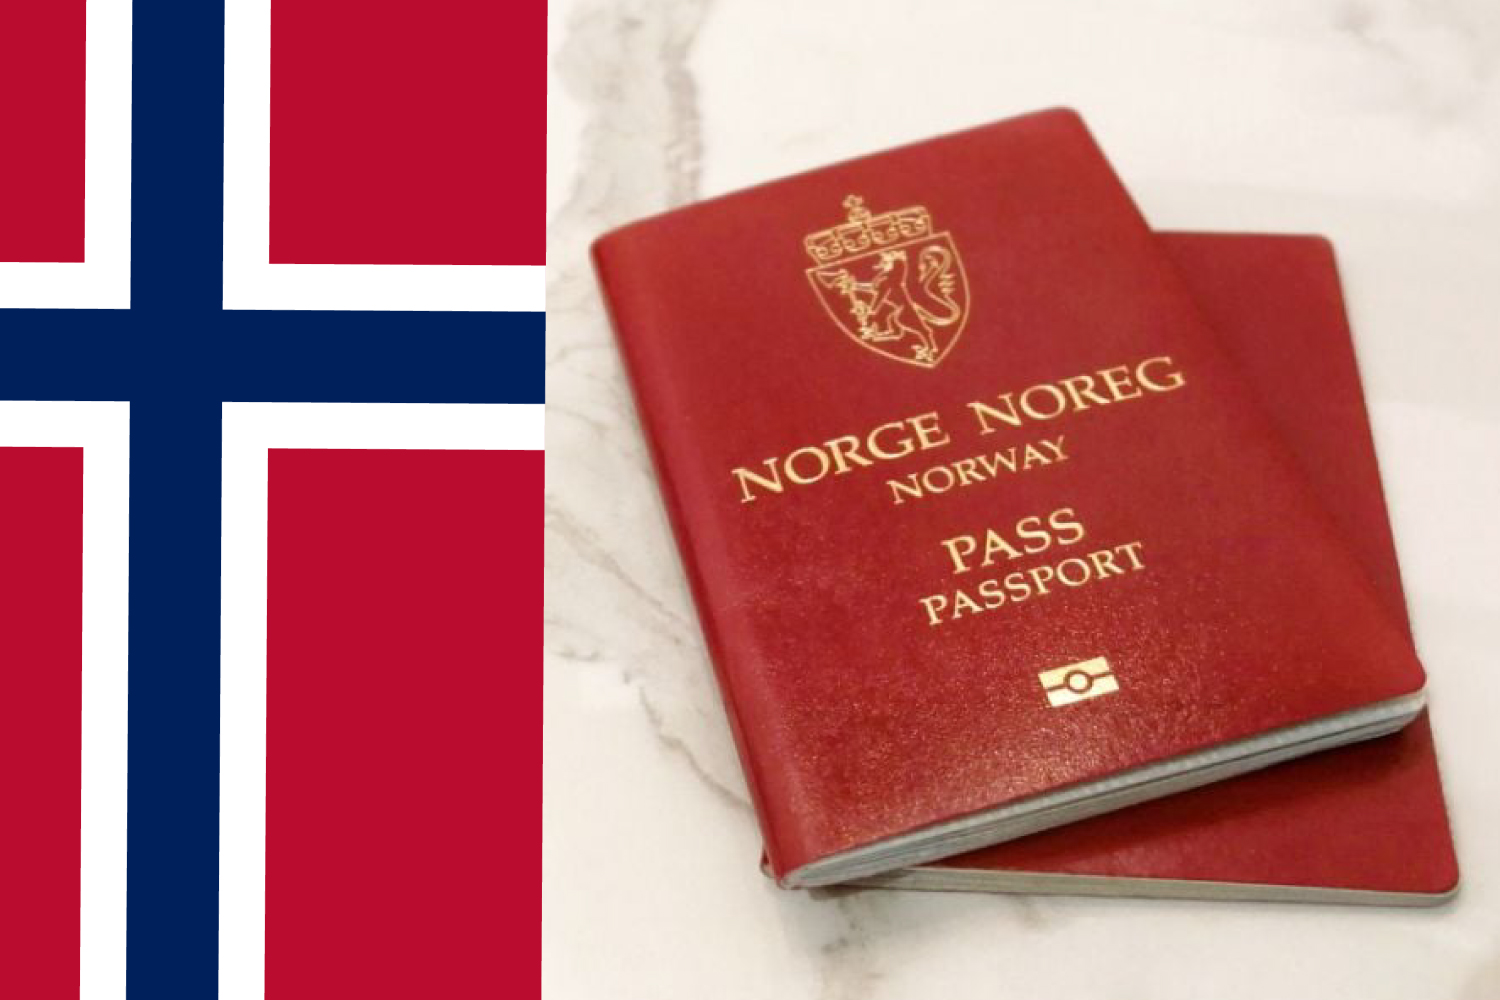

Studying in Norway is a dream for many students who want access to a world class education system, safe communities, and a high standard of living. However, before you can begin your studies, you need to successfully apply for the Norway study visa (Student Residence Permit). This permit allows non EU and non EEA students to live in Norway legally while pursuing full time studies.
Applying for this permit can feel overwhelming at first, especially if you are unfamiliar with the Norwegian immigration system. But once the steps are broken down into a clear and structured process, the entire journey becomes far easier to understand. This guide explains every stage in detail, adds context from real student experiences, and gives practical tips that help you avoid common mistakes.
1. Secure Admission to an Approved Norwegian Institution
Your journey begins with an official acceptance into a Norwegian university, college, or vocational school. Norway only grants student residence permits to applicants who can prove admission to a recognized and accredited institution. Your admission letter becomes the foundation of your visa application, since it confirms that you will be studying full time in Norway.
When applying to universities, make sure the program is full time and fits UDI requirements. Most institutions clearly state whether a program qualifies international students for a residence permit. Some schools also offer guidance specifically for new international students, including financial requirements, housing advice, and application timelines.
2. Prepare All Required Documents
After receiving your admission letter, your next step is to gather every document required for the application. Being well organized can save you time and reduce stress. Here are the main documents students typically need:
Required Documents
-
Admission letter from your Norwegian institution.
-
Valid passport with enough time left before expiration.
-
Proof of financial ability showing you can support yourself for at least one academic year.
-
Proof of housing in Norway, such as a tenancy contract or a written confirmation from student housing.
-
Health or travel insurance, depending on nationality and program length.
-
Passport photos meeting biometric standards.
-
Completed application form through the UDI portal.
-
A signed checklist confirming that all required documents are included.
Each document must be clear, readable, and in line with UDI requirements. Submitting incomplete or unclear documentation is one of the most common reasons students face delays.
3. Understand Proof of Funds and Financial Requirements
One of the most important and sometimes challenging parts of the application is proving you have the financial means to live in Norway. The cost of living is high compared to many other countries, which is why UDI requires students to show a substantial amount of money for each academic year.
Students must document enough funds to cover living expenses for the entire year. The required yearly amount is updated regularly and must be checked before applying. In many cases, students are required to deposit the required amount into a Norwegian bank account or a special deposit account created by the university. Once the student arrives in Norway and registers with the local authorities, the money is released for their use.
Acceptable ways to show financial proof
-
Money transferred to a Norwegian deposit account.
-
An official bank statement from your home country.
-
A scholarship confirmation letter.
-
A loan approval letter.
-
A sponsorship guarantee letter from a parent or guardian, along with the sponsor’s bank statements.
Real world experiences show that depositing the funds into a Norwegian account is often the safest option. Many rejected applications result from unclear or inconsistent proof of funds. Submitting clean, verifiable financial documents gives you the best chance of approval.
4. Apply Through the UDI Application Portal
Once you have your documents ready, you must create an account on the UDI Application Portal. This portal is where you officially submit your application and pay the processing fee.
What you will do on the UDI portal
-
Create a personal profile.
-
Complete the digital application form.
-
Upload all required documents.
-
Pay the application fee.
-
Book an appointment at the nearest embassy, consulate, or visa application center.
Your application is not considered complete until you attend the physical appointment and submit your biometrics and original documents. Make sure you book your appointment early, especially during peak months, since appointment slots fill up quickly.
5. Attend the Embassy or Visa Application Center Appointment
Your appointment is a key part of the application process. During this session, you will submit your original documents, provide biometric data, and verify the information you submitted online.
What to bring
-
Original passport.
-
Printed receipt of your online application submission.
-
All original supporting documents.
-
Passport sized biometric photos.
The embassy staff may also ask a few simple questions about your study plans, financial situation, or housing arrangements. These questions are routine and meant to confirm your eligibility.
6. Processing Time and What to Expect
After your appointment, your application is sent for official processing. The waiting period can vary widely depending on the time of year, your country of application, and your individual case. Some students receive a decision within weeks, while others may wait several months.
Tips during the waiting period
-
Apply early in the year to avoid peak season delays.
-
Regularly check the status of your application through the UDI portal.
-
Respond quickly if UDI requests additional documents.
-
Stay in contact with your university’s international office, which can help with general guidance.
It is important not to travel to Norway before your permit is approved unless UDI gives you special permission. Entering Norway without approval can cause complications or delays.
7. Travel to Norway and Register with the Police
Once your permit is approved, you can travel to Norway. However, your process is not fully complete until you register with the local police or immigration office. This step confirms your arrival and activates your residence permit.
After arriving in Norway
-
Attend your scheduled appointment with the local police.
-
Provide biometric data if required again.
-
Receive your residence card.
-
Open a Norwegian bank account.
-
Access the funds you deposited into the university or bank account.
Your residence permit must be renewed every academic year. Renewal requires updated proof of funds and confirmation of continued enrollment in full time studies.
Additional Tips and Common Challenges
Proof of funds issues
Many students report that unclear financial documentation is the most common cause of delays or rejections. Make sure every financial document is official, recent, and clearly shows your name and available balance.
Housing documentation
Some students struggle to secure housing before arrival. Many universities provide temporary housing options or guidance for new students. Make sure your housing documents are valid for the entire period required.
Working while studying
Students with a valid residence permit are allowed to work part time while studying. This work limit is typically 20 hours per week during the academic term and full time during holidays. Working within the allowed limits is important in order to keep your residence permit in good standing.
Renewing your permit
Your student residence permit must be renewed before it expires. Late renewal can result in losing your legal status, so always complete your renewal application on time.
Applying for a Norway study visa (Student Residence Permit) may feel complex at first, but with the right preparation and an understanding of each step, the process becomes far more manageable. Begin by securing admission to an approved institution, gather your documents carefully, pay close attention to financial requirements, and follow the UDI application process step by step. Once your permit is approved, your responsibilities continue in Norway, where you must register with the police, open a bank account, and maintain full time student status.
With careful planning and attention to detail, your transition to studying in Norway can be smooth and rewarding. The key is preparation, patience, and understanding the requirements clearly so you can focus on beginning your academic journey confidently.
Official sources to check before you apply or travel
- European Commission – EU visa policy (Schengen)
- GOV.UK foreign travel advice (entry requirements by country)
- Government of Canada travel advice and advisories
Visa rules, fees, processing times and entry requirements change often. Always confirm the current requirements on the official government website, or with the embassy or consulate, before you apply, pay or travel. One Visa Center is an independent information site, not a law firm or government agency, and this article is not legal advice. Read how we research, fact-check and use AI tools in our Editorial Policy.
Get visa, passport, and travel-planning guides like this one sent straight to your inbox — plus first access to new country guides and scholarship roundups.